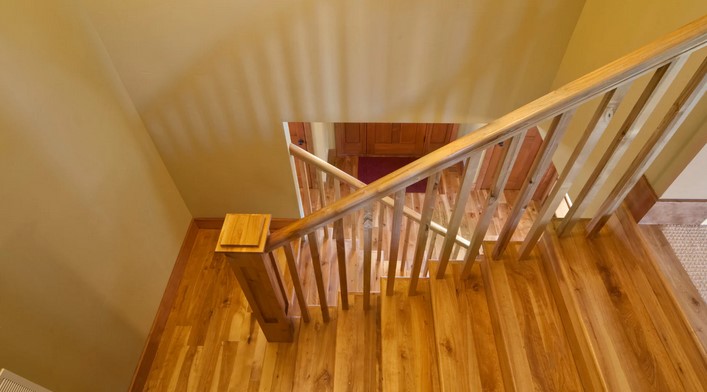
Step by Step: Replacing Stair Treads

Step by Step: Replacing Stair Treads is a comprehensive guide that provides detailed instructions on how to replace stair treads. This process involves removing the old treads, measuring and cutting new ones, and securing them in place. The guide is designed to help both novices and experienced DIY enthusiasts to carry out this task efficiently and safely. It includes tips on the tools needed, safety precautions to take, and common mistakes to avoid.
Step by Step Guide: How to Replace Stair Treads Efficiently
Replacing stair treads is a task that may seem daunting, but with the right tools and a step-by-step guide, it can be accomplished efficiently and effectively. This process not only enhances the aesthetic appeal of your staircase but also ensures safety by eliminating worn-out or damaged treads.
To begin with, it’s crucial to gather all the necessary tools and materials. These include new stair treads, a pry bar, a hammer, a saw, construction adhesive, and nails or screws. It’s also advisable to have safety gear such as gloves and safety glasses.
Once you have all the necessary tools and materials, the first step is to remove the existing stair treads. This is where the pry bar and hammer come in handy. Carefully insert the pry bar under the edge of the tread and apply pressure to lift it. If the tread is stubborn, use the hammer to tap the pry bar further under the tread. Continue this process until the tread is completely removed.
After removing the old treads, it’s time to prepare the new ones. Measure the width and depth of the stair riser where the new tread will be installed. It’s important to be precise with these measurements to ensure a snug fit. Once you have the measurements, cut the new tread to size using a saw.
Next, apply a generous amount of construction adhesive on the back of the new tread. This adhesive will help secure the tread to the stair riser. Place the tread on the riser, ensuring it fits perfectly. Apply pressure to the tread to ensure the adhesive bonds well with the riser.
Once the tread is in place, it’s time to secure it further using nails or screws. Drive the nails or screws into the corners of the tread, making sure they penetrate both the tread and the riser. This will provide additional security and stability to the tread.
After installing the new tread, it’s important to clean up any excess adhesive that may have squeezed out during installation. Use a damp cloth to wipe away the excess adhesive.
Finally, allow the adhesive to dry completely before walking on the stairs. This usually takes about 24 hours, but it’s best to refer to the adhesive manufacturer’s instructions for the exact drying time.
In conclusion, replacing stair treads is a task that requires precision and patience. However, with the right tools, materials, and a step-by-step guide, it can be accomplished efficiently. Not only will this enhance the aesthetic appeal of your staircase, but it will also ensure its safety and longevity. Remember, safety should always be a priority when undertaking such tasks, so always wear protective gear and take your time to do the job correctly.