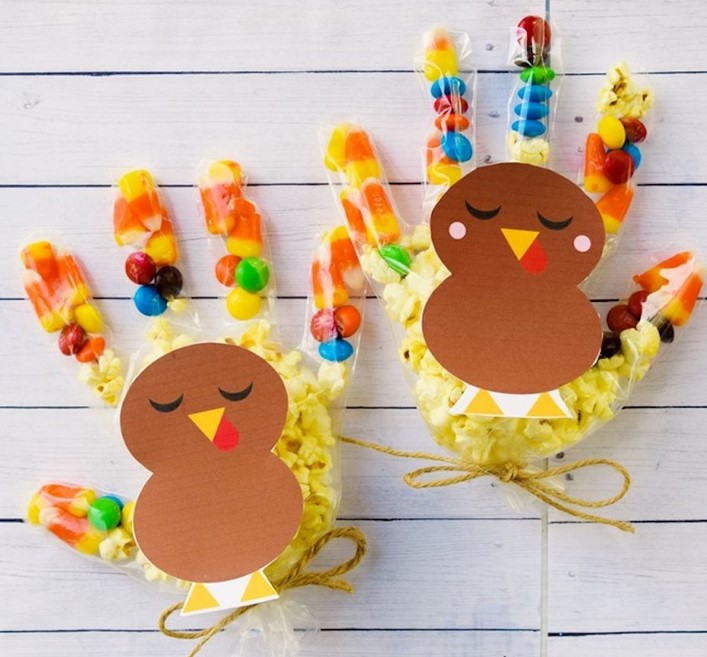
Easy Steps to Make a Turkey Hand Craft with Your Kids
Turkey hand crafts are a delightful and timeless activity that captures the essence of creativity and childhood imagination. With just a sheet of paper, some colorful markers, and a hand to trace, you can transform a simple outline into a charming turkey masterpiece, making it a perfect seasonal craft that both children and adults can enjoy.

Engaging in creative activities with your kids not only fosters their imagination but also strengthens the parent-child bond. One delightful and simple craft project that you can embark upon with your little ones is making a turkey hand craft. This classic craft not only taps into your child’s artistic flair but also helps them learn about shapes, colors, and coordination. In this article, we’ll guide you through easy steps to create a charming turkey hand craft with your kids.
Step 1: Gather Your Supplies
Before diving into the crafting process, it’s important to ensure you have all the necessary supplies on hand. Here’s a list of items you’ll need:
1. Colored construction paper (brown, red, orange, yellow)
2. Scissors
3. Glue stick
4. Googly eyes
5. Markers or crayons
6. Pencil
7. Black pen
8. White paper
9. Feathers (real or craft feathers)
Step 2: Trace and Cut Out the Handprint
Begin by selecting the construction paper for the turkey’s body. Brown paper is a popular choice for this. Place your child’s hand on the brown construction paper and trace around it using a pencil. Once traced, help your child carefully cut out the handprint shape. This handprint will serve as the turkey’s body.
Step 3: Create the Turkey’s Feathers
Now, choose colorful construction paper for the turkey’s feathers. Colors like red, orange, and yellow work well for this part. Using the same technique as before, trace and cut out five or six handprints in different colors. These will form the turkey’s fan-like feathers.
Step 4: Assemble the Feathers
Take the hand-cut feathers and arrange them in a semicircle behind the turkey’s body handprint. You can help your child with the positioning to ensure the feathers look balanced and vibrant. Once you’re satisfied with the arrangement, use a glue stick to attach the feathers to the back of the turkey’s body handprint.
Step 5: Add the Turkey’s Face
To bring your turkey to life, it’s time to add a face. Help your child glue googly eyes near the top of the turkey’s body handprint. Next, use a small orange triangle cut from construction paper to create the beak. Finally, draw a wattle (the fleshy part under the turkey’s beak) using the red construction paper and glue it in place.
Step 6: Decorate the Turkey’s Body
Let your child’s creativity shine as you move on to decorating the turkey’s body. They can use markers or crayons to add patterns, designs, or even write their name on the body. This step allows for personalization and gives your child a sense of ownership over their creation.
Step 7: Attach the Turkey’s Legs
No turkey is complete without legs! Cut out two thin strips of brown construction paper to serve as the turkey’s legs. Help your child attach these strips to the bottom of the turkey’s body handprint using glue. Encourage them to arrange the legs so that they’re visible beneath the feathers.
Step 8: Incorporate Real Feathers
To add an extra touch of texture and realism, consider incorporating real feathers into your turkey hand craft. Attach a few craft feathers to the base of the colored construction paper feathers using a dab of glue. This adds dimension and makes the craft even more engaging for kids.
Step 9: Display Your Turkey Hand Craft
Once the craft is complete and the glue is dry, find a special spot to display your turkey hand craft. This could be on the refrigerator, a bulletin board, or even a dedicated wall space for your child’s artworks. Displaying their creation proudly will boost their confidence and sense of accomplishment.
Engaging in creative activities like making a turkey hand craft not only nurtures your child’s imagination but also provides valuable bonding moments between parent and child. As you embark on this craft journey together, remember that it’s not about perfection, but about the joy of creating something together. By following these easy steps and letting your child’s creativity shine, you’ll create a cherished keepsake and memories that will last a lifetime. So gather your supplies, roll up your sleeves, and embark on a colorful and artistic adventure with your little ones!